
A DIY cake smash photoshoot can be a simple way to take first birthday photos at home without creating an elaborate setup. Good window light, a clean background, a small cake, and a few carefully chosen details are usually enough to make the photos feel put together.
The biggest mistake I see with cake smash setups is trying to include too much. Whether I’m creating a professional session or helping a parent think through a simple setup, keeping the colors, props, and background controlled usually photographs better than filling the scene with decorations.
If you’re creating your own cake smash photoshoot at home, these tips will help you choose the setup, lighting, cake, outfit, and camera angles that tend to work best.
How to Set Up a Cake Smash Photoshoot at Home
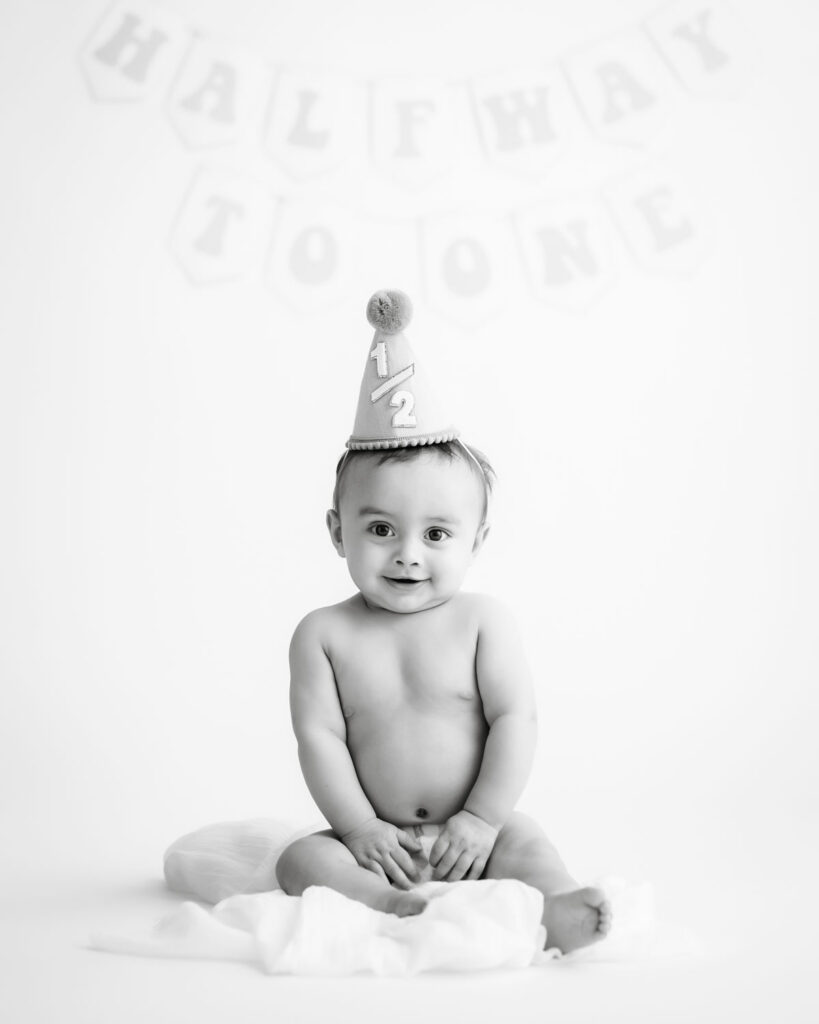
Choose the Best Light for Cake Smash Photos at Home
Good lighting makes a bigger difference than an elaborate setup. For cake smash photos at home, look for a room with a large window and enough open space to position your baby several feet away from the background.
Try to avoid:
- Harsh overhead lights
- Mixing window light with yellow indoor lighting
- Direct sunlight hitting your baby’s face
- Dark rooms that force you to use a very high ISO
- Busy backgrounds with furniture or household items showing
If possible, turn off the room lights and use window light from one direction. Position your baby slightly beside the window rather than directly facing it. This creates softer shadows and gives the face more shape.
One thing I pay attention to during professional cake smash sessions is how the light falls across the eyes and face before I worry about the decorations. A simple setup in good light will usually photograph better than an elaborate backdrop in a poorly lit space.
If the sunlight is too strong, a sheer white curtain can help soften it. You do not need professional studio lighting to create a clean first birthday photo setup at home. The goal is simply soft, even light and a background that does not compete with your baby.
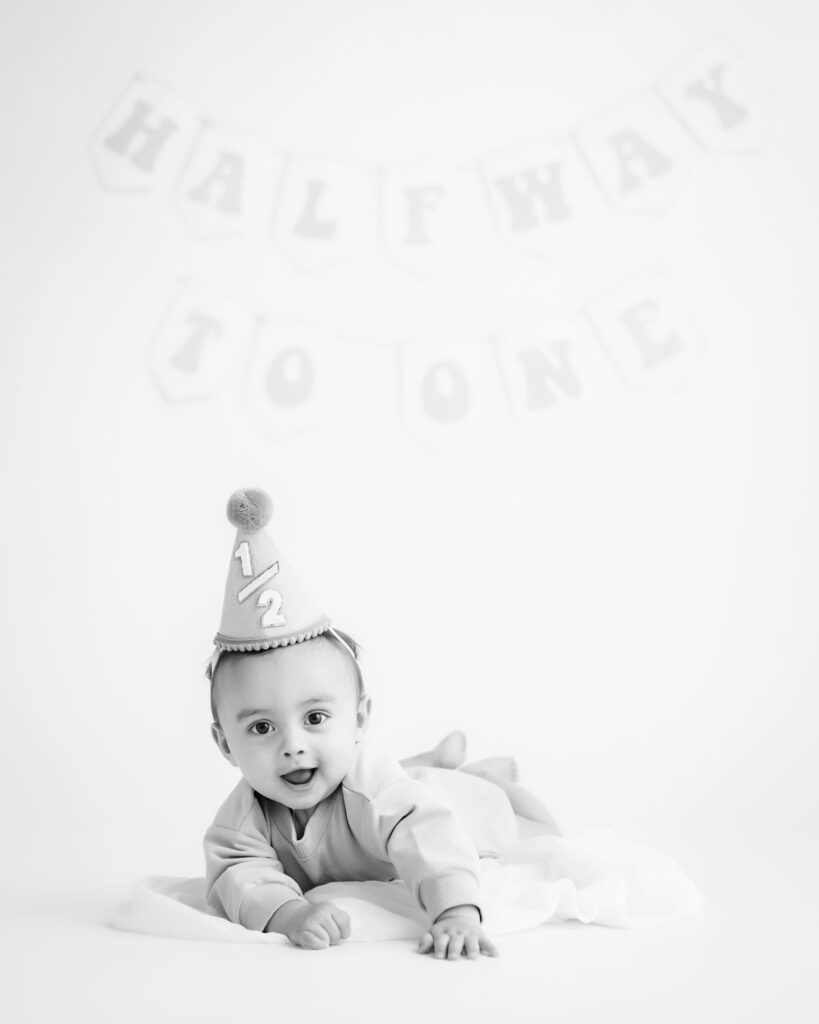
Keep Your Cake Smash Setup Simple
For simple cake smash photos, you usually do not need a heavily decorated backdrop. Too many balloons, signs, props, and colors can compete with your baby and make the final images feel busy.
A simple setup might include:
- A solid or lightly textured backdrop
- One small balloon grouping
- A wooden crate or low stool used as an accent
- A few florals or greenery
- Two or three coordinating colors
- Plenty of open space around the cake
When I design cake smash setups professionally, I usually look at the entire frame before adding another element. If the backdrop already photographs well, adding more decorations rarely improves it.
For a DIY cake smash backdrop, choose one main element and build around it. A neutral background with a few balloons, for example, is often easier to photograph than several competing decorations. Also leave enough floor space around your baby. You will want room to photograph wide shots, close-ups, crawling, standing, and the reactions that happen before your baby even touches the cake.
Choose the Right Cake for Cake Smash Photos
The cake affects both how the setup looks and how easily your baby can actually smash it. Smaller cakes with soft frosting usually work better than tall or heavily decorated cakes.
For first birthday cake smash photos, I recommend:
- Soft buttercream rather than thick fondant
- A smaller cake that is easy for little hands to reach
- Minimal decorations or toppers
- Frosting colors that coordinate with the backdrop
- Avoiding very dark icing that can stain skin and clothing
- Letting the cake come closer to room temperature so the frosting is easier to touch and break apart
I have photographed plenty of babies who simply stare at the cake at first. Sometimes breaking a small piece of frosting or cake loose and placing it near their hand is enough to encourage them to investigate it. The cake also does not have to match the backdrop perfectly. Coordinating colors generally photograph better than trying to make every detail identical.
If you want more ideas before deciding on your setup, my Cake Smash Photography Guide covers themes, outfits, preparation, and what happens during a professional session. For additional baby session ideas beyond the cake smash itself, you can also visit the Baby Photography Dallas page for milestone and studio photography examples.
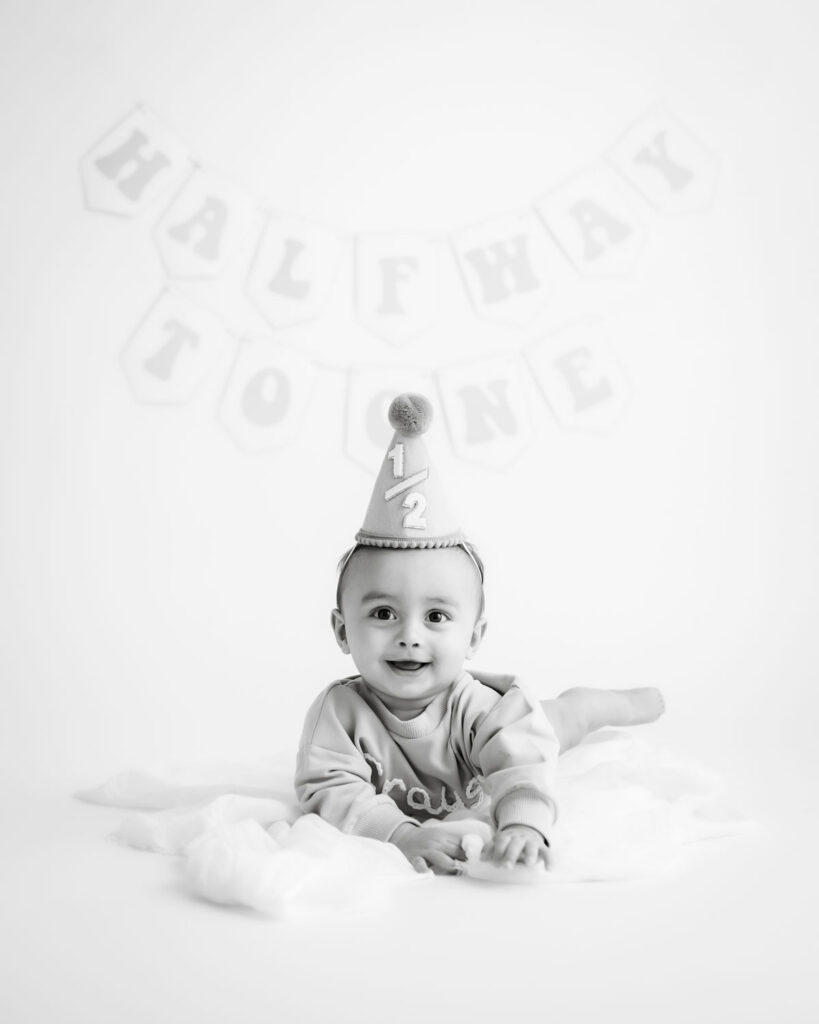
Choose an Outfit That Works With the Setup
Your baby’s outfit should coordinate with the backdrop without competing with it. For first birthday cake smash pictures, simple clothing usually photographs best because the cake, expressions, and movement already add plenty of visual interest.
Good options include:
- Linen or cotton rompers
- Simple dresses
- Knit bloomers or diaper covers
- Overalls with a bare chest underneath
- Small bows or headbands
- Neutral, muted, or softly coordinated colors
Avoid large logos, very busy patterns, and outfits with too many layers. Remember that frosting will probably end up on the clothing, so choose something you are comfortable getting messy. I also recommend taking a few clean portraits before bringing out the cake. Your baby is still clean, the outfit is intact, and you can get a little more variety from the same setup before the smash begins.
Prepare for the Cake Smash Mess
Once the cake comes out, things can get messy quickly. Having everything nearby before you begin makes a cake smash photoshoot at home much easier.
Keep these within reach:
- Baby wipes
- Towels
- Paper towels
- A clean diaper
- A change of clothes
- A trash bag
- A washable mat or floor covering
- Water or your baby’s usual drink
If you are photographing on hardwood or tile, remember that frosting can make the floor slippery. Keep your baby seated or closely supervised and clean up any icing that spreads outside the setup. Another thing parents sometimes do not expect: not every baby actually smashes the cake. Some dig in immediately, while others touch the frosting once and decide they are finished. Give your baby a little time to investigate instead of trying to force a reaction.
Those uncertain looks, tiny tastes, messy hands, and eventual curiosity often end up being some of the most entertaining DIY cake smash pictures anyway.
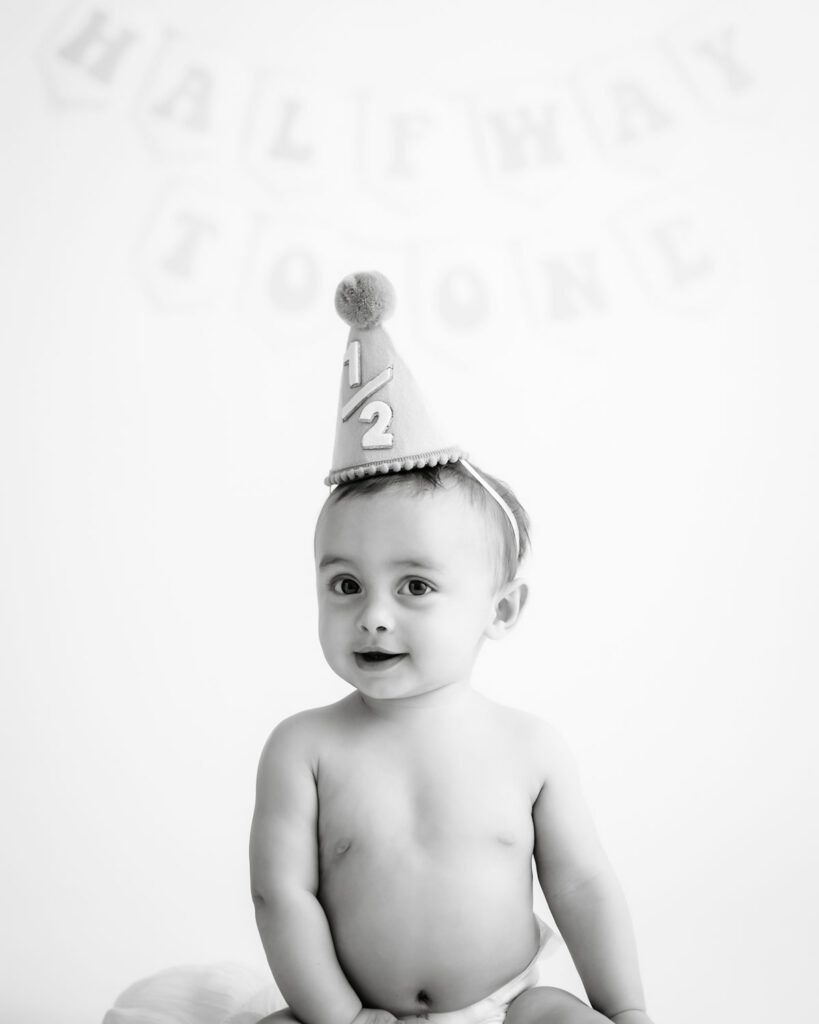
How to Take Better Cake Smash Photos With Your Phone
You do not need a professional camera to get good photos of your baby’s cake smash. A newer phone can handle the job well, especially when you have plenty of natural light and know where to position yourself.
A few things will make a noticeable difference:
- Clean your camera lens first. It sounds minor, but fingerprints can make an otherwise sharp photo look hazy.
- Use the regular 1x camera instead of digitally zooming whenever possible.
- Turn off the flash and use the window light from your setup.
- Tap your baby’s face to focus before taking the photo.
- Lower the exposure slightly if white frosting or a light backdrop looks too bright.
- Get down to your baby’s eye level instead of photographing everything from above.
- Use burst mode or Live Photos when your baby starts grabbing, crawling, or reacting to the cake.
For variety, take a few wider photographs that show the entire setup, then move closer for messy hands, frosting-covered toes, expressions, and details of the cake. I would also avoid relying too heavily on Portrait Mode during the actual smash. Fast-moving hands, frosting, and cake edges can sometimes confuse the phone’s depth detection and create unnatural blur around your baby.
When figuring out how to photograph a cake smash, timing matters almost as much as camera settings. Take plenty of photos during the first few minutes. The reactions usually change quickly once your baby realizes they are allowed to touch the cake.
Choose the Best Time of Day for Your Cake Smash
The best time for a DIY cake smash photoshoot is usually when your baby is rested, fed, and naturally happiest. Trying to squeeze the photos in right before a nap or meal can make even the best setup difficult.
For most babies, I recommend working around their normal schedule rather than choosing a time based only on when the room looks good. If possible, look for a window when your baby has recently napped and eaten, while still giving them enough appetite to be interested in the cake.
A few things can help:
- Avoid starting immediately before nap time
- Give your baby a regular meal or snack beforehand rather than expecting cake to replace it
- Have the entire setup ready before bringing your baby into the room
- Take clean portraits first while your baby is still interested and comfortable
- Keep the actual cake portion fairly short if your baby starts losing interest
From photographing many cake smash sessions in Dallas, I’ve learned that babies usually have a limited window before they become tired of sitting in one place. Getting the portraits you want first and introducing the cake afterward tends to make the session flow much better. If your baby becomes upset or completely uninterested, it is okay to stop. A successful cake smash does not depend on your baby actually destroying the cake.
Prefer to Leave the Cake Smash Photos to a Professional?
A DIY setup can be fun, but if you would rather have the styling, lighting, posing and photography handled for you, as a Dallas cake smash photographer my cake smash photography sessions are designed to make the experience simple from start to finish. Sessions include baby portraits, the cake smash, family photos, and the option to add a milk or splash bath.
You can review Cake Smash Pricing to see what is included, or Inquire About Your Cake Smash Session to check availability for your baby’s birthday.